Upgrading the Abrasive Pinch Valve
Here at Wazer, we don’t believe in only updating firmware. This is the first WAZER hardware upgrade.
Before you begin you will need the upgrade kit and the following tools:
Philips #2 Screwdriver
2.5 mm Hex key
2.0 mm Hex key
Turn off the WAZER and unplug the DC power from the controller.

Open the Abrasive drawer
Free the wires and hoses from the cable guide on the drawer slide and drawer assembly
Disconnect the 2 electrical connections, by pushing in the tab, as well as the the abrasive hose from the Abrasive Pinch Valve

Remove the Abrasive Hose
Remove the Abrasive Drawer from WAZER
Dump any Abrasive remaining in the Abrasive Drawer into a clean bucket.
We are going to be replacing the old Abrasive throttle valve
Inside of the Abrasive Drawer at the bottom, you will find the ABRASIVE ORIFICE. Remove it. by puling up and separating it from the silicone tube
Do not mix up the old and new Abrasive orifice, The new one has a smaller orifice and is longer
Remove the Abrasive rate adjusting screw using the 2.5 mm driver
Unscrew the the two Philips screws on the font of the the Abrasive Throttle. Discard these screws
Undo the two clips holding together the two halves of the Abrasive Throttle. After undoing the first with a little shake the second clip on the reverse side should come free.
Then separate the two pieces. Discard this piece
Remove the mounting bolts securing the Pinch Valve to the Abrasive Hopper. Use the 2.5 mm driver to remove them and discard these bolts
Remove the Pinch Valve from the Abrsaive Hopper
Press in the center “button” of the pinch valve and pull the silicone hose out of the valve. Discard this piece
Remove the other half of the Abrasive throttle. Discard this piece
At this point, follow steps 13-21 in the instructions for Rebuilding and cleaning out the Abrasive Valve, however you need to stop just before reinstalling the top white part.
Hold the metal cylinder so that the valve is all the way open. Grab the new Drop Tube with you other hand.
You want to push the the narrow end of the Drop Tube through the larger opening. You will need to rotate the Drop Tube as you do this to get it through.

Once it is through, make sure that the two guard parts of the Drop Tube are seated in the recesses of the white part of the Valve.
You may need to tug on the end a bit to get it to seat nice.
Finish the valve rebuild by installing the valve head on to the solenoid body with the 4 m3xXX mm machine head bolts
Place the Abrasive Valve back in the Abrasive Drawer holder.
Reinstall the Valve assembly in the Abrasive Drawer mount. Using the 4x M3 x 6 mm patch bolts included, start each of them so that the valve can still move.
Before fully tightening these bolt, check if the drop tube is in a straight line. These bolts are in slots and the valve can be moved a little. When you are satisfied with the alignment, finish tightening down the M3 bolts
Good
Misaligned
Squeeze the top of the drop tube and push it through the hole into Abrasive Hopper.
Make sure the top is all the way through
While applying upward pressure on the valve, push the new Abrasive Orifice into the top of the Drop Tube to secure it in place
Make sure is seats fully and sit evenly into the bottom of the Abrasive Drawer.
Re-install the Abrasive Drawer into the WAZER
Hook back up the electrical connections

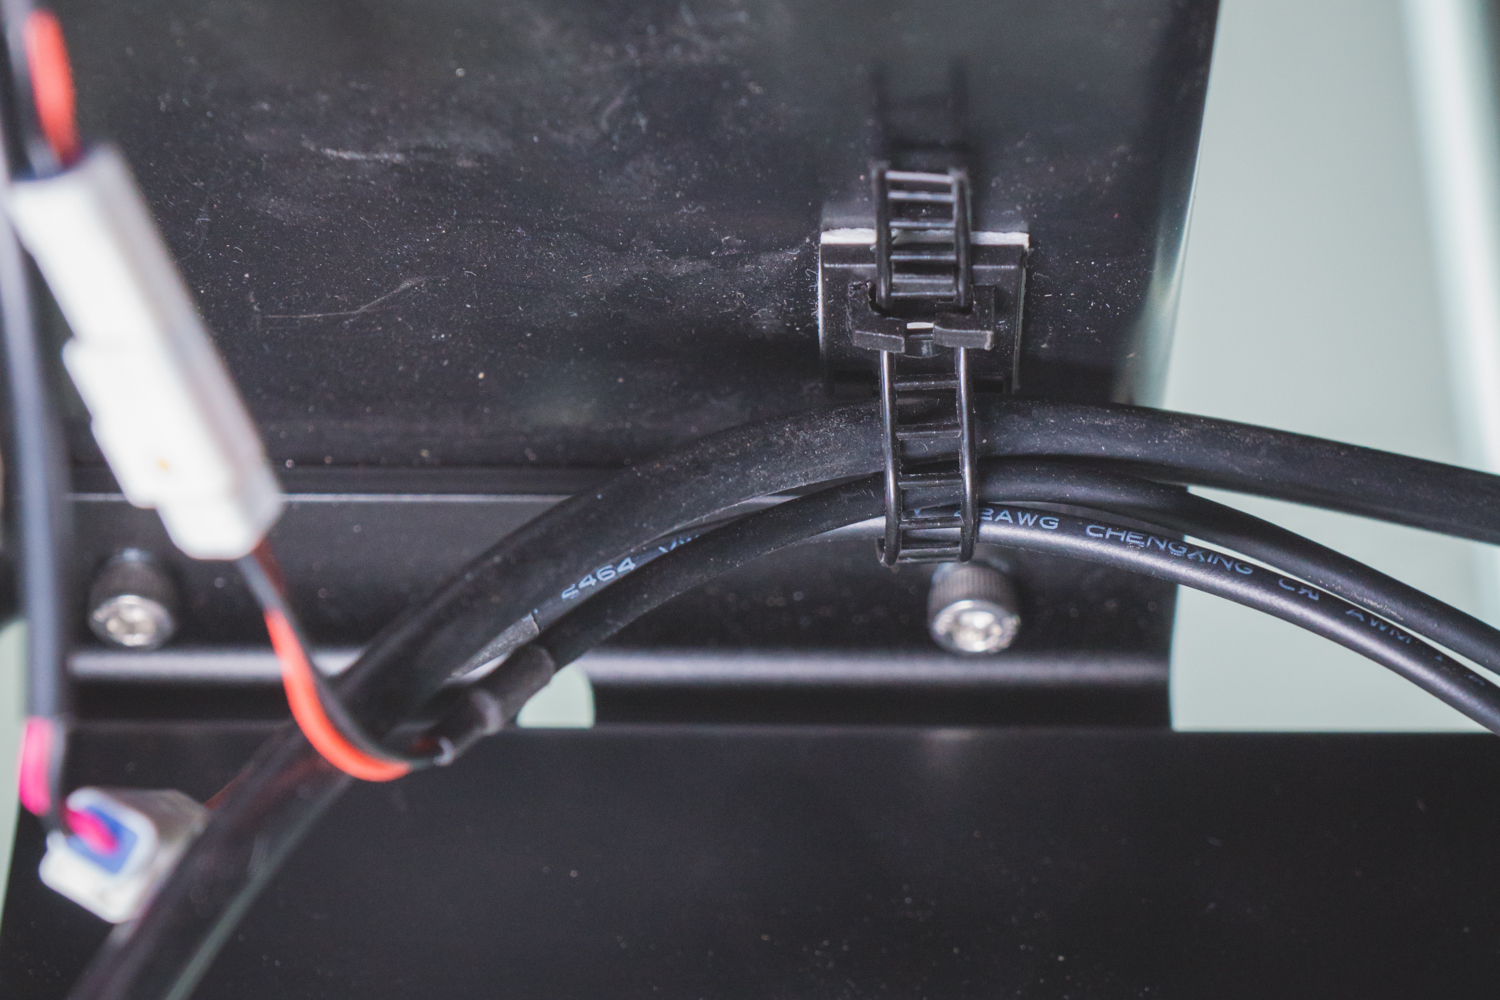
Secure your wires and hose to the drawer slide. Being careful to not make it too tight or the abrasive won’t flow

Plug the Abrasive Hose into the new Abrasive Catcher.
Install the Abrasive Catcher as shown
The alignment here is important. Viewed from the side make sure that it hangs down straight
Congratulations, you have upgraded your WAZER! This upgrade will make you abrasive rate far more stable and almost completely resistant to backflow getting into your abrasive hopper. We hope you enjoy this new upgrade.